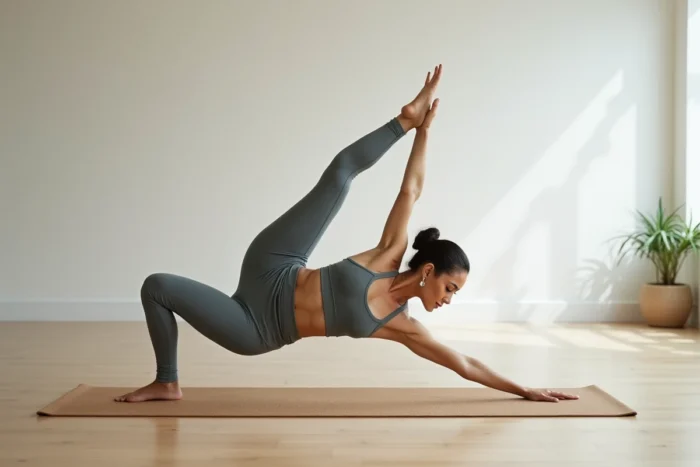
Astavakrasana is not achieved through arm strength. The eight-angle pose relies on a compression system where the legs, torso, and shoulders function as a locked unit. Without this mechanics, pushing harder into the palms only overloads the wrists.
Lever of the leg on the arm: the technical reference that changes everything in astavakrasana
The height at which the leg is placed on the arm determines the feasibility of the pose. The thigh must rise above the elbow, ideally up to the shoulder. The lower the contact point, the more the arm bears the weight without mechanical leverage, making the lift impossible or exhausting.
We observe that most failures come from a placement that is too low, often at mid-bicep. At this height, the arm bends under the load instead of serving as a shelf. The femur must create a stable support on the posterior deltoid, not on the belly of the bicep.
To achieve this, external hip rotation is more crucial than hamstring flexibility. A practitioner who can hold Eka Pada Sirsasana (foot behind the head) but is limited in external rotation will still fail to place the leg high enough.
We recommend working on external rotation through Agnistambhasana (fire pose) and long-held Pigeon variations well before attempting to enter astavakrasana. For everything about astavakrasana and its joint prerequisites, hip mobility remains the main limiting factor.
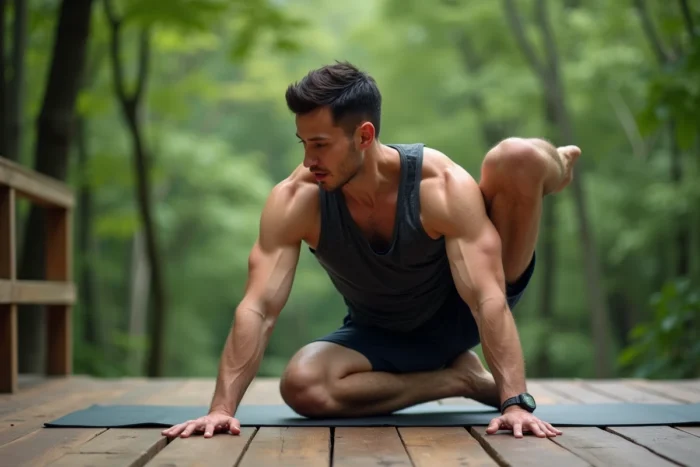
Active compression of the legs: transforming astavakrasana into a self-supporting system
Once the leg is placed high on the arm, the eight-angle pose only holds if both legs actively squeeze the arm like a vise. The pressure of the thighs against the arm creates stability, not the push of the palms into the ground.
The mechanism is one of lateral compression. The upper leg pushes down on the arm, while the lower leg pushes up by hooking the ankle. The two forces oppose each other and lock the system. Without this action, the pelvis slides forward or rotates, and the practitioner collapses.
- Engage the adductors of both thighs simultaneously, as if you want to crush a block between your legs
- Hook the lower ankle around the upper ankle to solidify the legs into one block
- Maintain constant pressure throughout the lifting phase, without releasing when the buttocks leave the ground
This locking transforms the pose from a brute strength exercise into a balance where body weight is distributed between the arms and legs. The arms only bear a fraction of the total weight when the compression is correct.
Compression test before the lift
Before lifting off the ground, stay seated with the leg placed on the arm and the ankles hooked. Actively squeeze for five breaths. If you do not feel a firm pressure against the arm, the external rotation or the strength of the adductors is insufficient. Working on this seated phase for several weeks yields better results than repeating failed lift attempts.
Role of the shoulders and wrists in arm balance
The shoulders must remain protracted and low, not raised towards the ears. Scapular protraction (shoulder blades spread, pushed forward) creates a wide and stable base. If the shoulder blades retract, the chest collapses and the center of gravity shifts too far behind the hands.
The wrist experiences significant extension load in this pose. We recommend preparing the wrists through progressive loading: held Chaturanga Dandasana, Bakasana (crow pose), and flexion-extension exercises on the ground. An insufficiently prepared wrist limits the duration of hold and exposes one to chronic carpal tunnel pain.
The forward tilt of the torso, at the moment when the legs move laterally, must remain controlled. The gaze should be directed towards the ground, slightly in front of the hands, which helps maintain the weight above the support base.
Realistic progression towards the eight-angle pose
Astavakrasana is not built in one session. Progression requires breaking down the components and working on them separately before assembling them.
- Phase 1: hip mobility (Agnistambhasana, Eka Pada Rajakapotasana, passive external rotation with a strap) for several weeks
- Phase 2: seated compression strength, leg on the arm, ankles hooked, without lifting off the ground
- Phase 3: partial lift in Bakasana and Chaturanga to condition wrists and shoulders to the load
- Phase 4: complete assembly with lift and lateral extension of the legs
Skipping steps by attempting the full pose too early leads to compensations: raised shoulders, rounded back, wrists in hyperextension. These compensations quickly become ingrained and are harder to correct than to prevent.
Frequency and patience
Working on the preparatory phases three to four times a week yields better results than a daily attempt at the full pose. The body needs time to gain joint range at the hips, and this adaptation does not occur under maximum strain.
The eight-angle pose rewards technical precision much more than intensity. A practitioner who masters the placement of the leg above the elbow and the active compression of the thighs will be able to lift with surprisingly moderate effort, where another, stronger but less precise, will remain stuck on the ground.