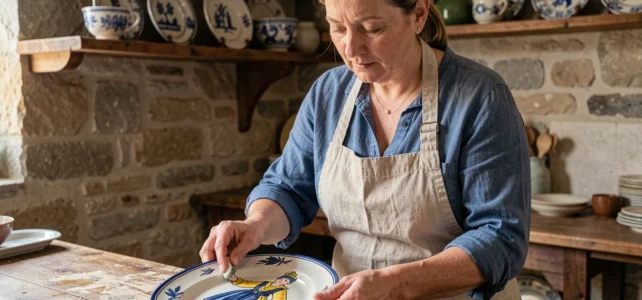
The Henriot Quimper earthenware is a terracotta covered with a stanniferous glaze, fired at a lower temperature than stoneware or porcelain. This characteristic gives it its charm, but also its fragility: porosity of the body, glaze sensitive to thermal shocks, hand-painted decorations vulnerable to abrasion. Maintaining and restoring these pieces at home requires understanding their structure before choosing a product or method.
Lead in old glazes: a risk to assess before any use
Classic maintenance guides start with cleaning. For an old Henriot Quimper earthenware, the first question concerns the composition of the glaze. The bright red, orange, yellow, or metallic decorations on old pieces are particularly suspected of containing lead or cadmium-based colorants.
Since May 2026, the Netherlands has tightened its lead migration limits for ceramics intended for food contact, with standardized tests over 24 hours in an acidic solution. This European trend is pushing to reclassify old pieces as purely decorative, even if they were once used as everyday tableware.
The American FDA reminds us that no washing or boiling can remove lead from a glaze. A positive result in the migration test should lead to an immediate cessation of food use of the piece. To find out how to date a Henriot Quimper earthenware, one must examine the maker’s marks on the back, which also helps to locate the production period and thus the type of glaze used.
In practice, if your Henriot plate has a polychrome decoration and dates from before the second half of the 20th century, reserve it for wall decoration or a sideboard. Using it to serve acidic foods (vinaigrette, lemon juice) accelerates the migration of heavy metals.

Cleaning Henriot Quimper earthenware: gestures suited to a fragile glaze
The Quimper earthenware is not a bathroom tile. Its glaze, softer than that of porcelain, scratches easily. The hand-painted Breton motifs (little Breton, touch decoration, floral borders) are applied to the glaze before the final firing but remain sensitive to repeated abrasion.
Hand washing: the only reasonable option
- Use lukewarm water (never hot) with a mild soap like Marseille soap. Alkaline detergents from dishwashers gradually attack the stanniferous glaze and dull the colors.
- Never soak an earthenware piece. The porous body absorbs water through the unglazed foot or through the micro-cracks of the crazing, which weakens the clay and can cause stains under the glaze.
- Dry immediately with a soft cloth. Limescale deposits left by water are more difficult to remove on old glaze than on modern ceramics.
Tea, coffee, or tannin stains on earthenware
The crazing, this network of fine cracks in the glaze, traps colored liquids. To remove them, apply a bit of baking soda mixed with water into a light paste, let it sit for a few minutes, then rinse. Avoid concentrated bleach, which whitens painted decorations.
On a very old Henriot piece, it’s better to accept a light patina than risk damaging the decoration. Too aggressive cleaning removes the history of the piece as much as the stain.
Home restoration of a chipped or cracked Henriot earthenware
A chipped plate, a cracked bowl, a dish with a missing piece: these accidents are common on pieces that are sometimes over a century old. Professional ceramic restoration exists (the Quimper earthenware museum also offers specialized interventions), but some simple repairs can be done at home.
Glue a chip or a clean break
For a clean break into two or three pieces, a slow-setting two-component epoxy glue offers the best result. The slow setting (several hours) allows for precise repositioning of the fragments. Apply a thin layer on each edge, assemble, hold with masking tape, and let cure flat.
Cyanoacrylate glue (like Super Glue) sets too quickly to allow for adjustment. It is only suitable for very small decorative chips, not for pieces of tableware subjected to handling.
Fill in a missing chip
When the fragment is missing, an epoxy putty for ceramics allows for reconstructing the shape. After curing, gently sand with very fine sandpaper (high grit). The result remains visible up close but stabilizes the piece.
Touching up the color of the Breton decoration is another matter. Cold ceramic acrylic paints can approximate the shades, but they lack the durability and depth of a fired glaze. On a collectible piece, any amateur touch-up decreases its value. It’s better to leave the repair visible than to attempt a clumsy camouflage.
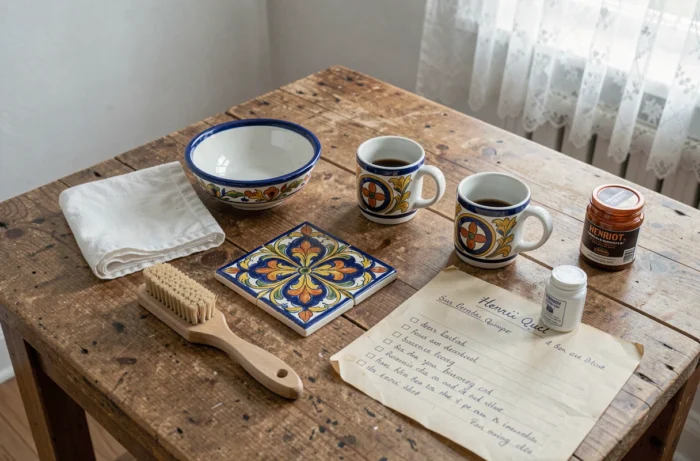
Conservation of Henriot Quimper pieces: avoiding silent damage
Impacts are not the only threat. The storage environment silently degrades Quimper earthenware.
- Prolonged humidity promotes the appearance of mold under the glaze, visible as dark stains that are impossible to clean. Store your pieces in a dry, ventilated place.
- Direct stacking scratches the decorations. Place a felt or tissue paper between each plate or dish.
- Direct sunlight gradually fades the pigments of the hand-painted motifs. A glass-fronted sideboard or a wall sheltered from south-facing windows prolongs the brightness of the colors.
- Sudden temperature variations (unheated room in winter, then sudden heating) accentuate the crazing. A stable temperature better protects the glaze than meticulous cleaning.
The Henriot Quimper earthenware endures through the centuries when its nature is respected: a Breton art object, porous and delicate, that requires measured gestures. Proper storage and gentle cleaning do more for its longevity than any miracle product. The oldest pieces, those that still bear decorations of the little Breton or characteristic borders, deserve to be treated as what they are: ceramic heritage, not everyday tableware.